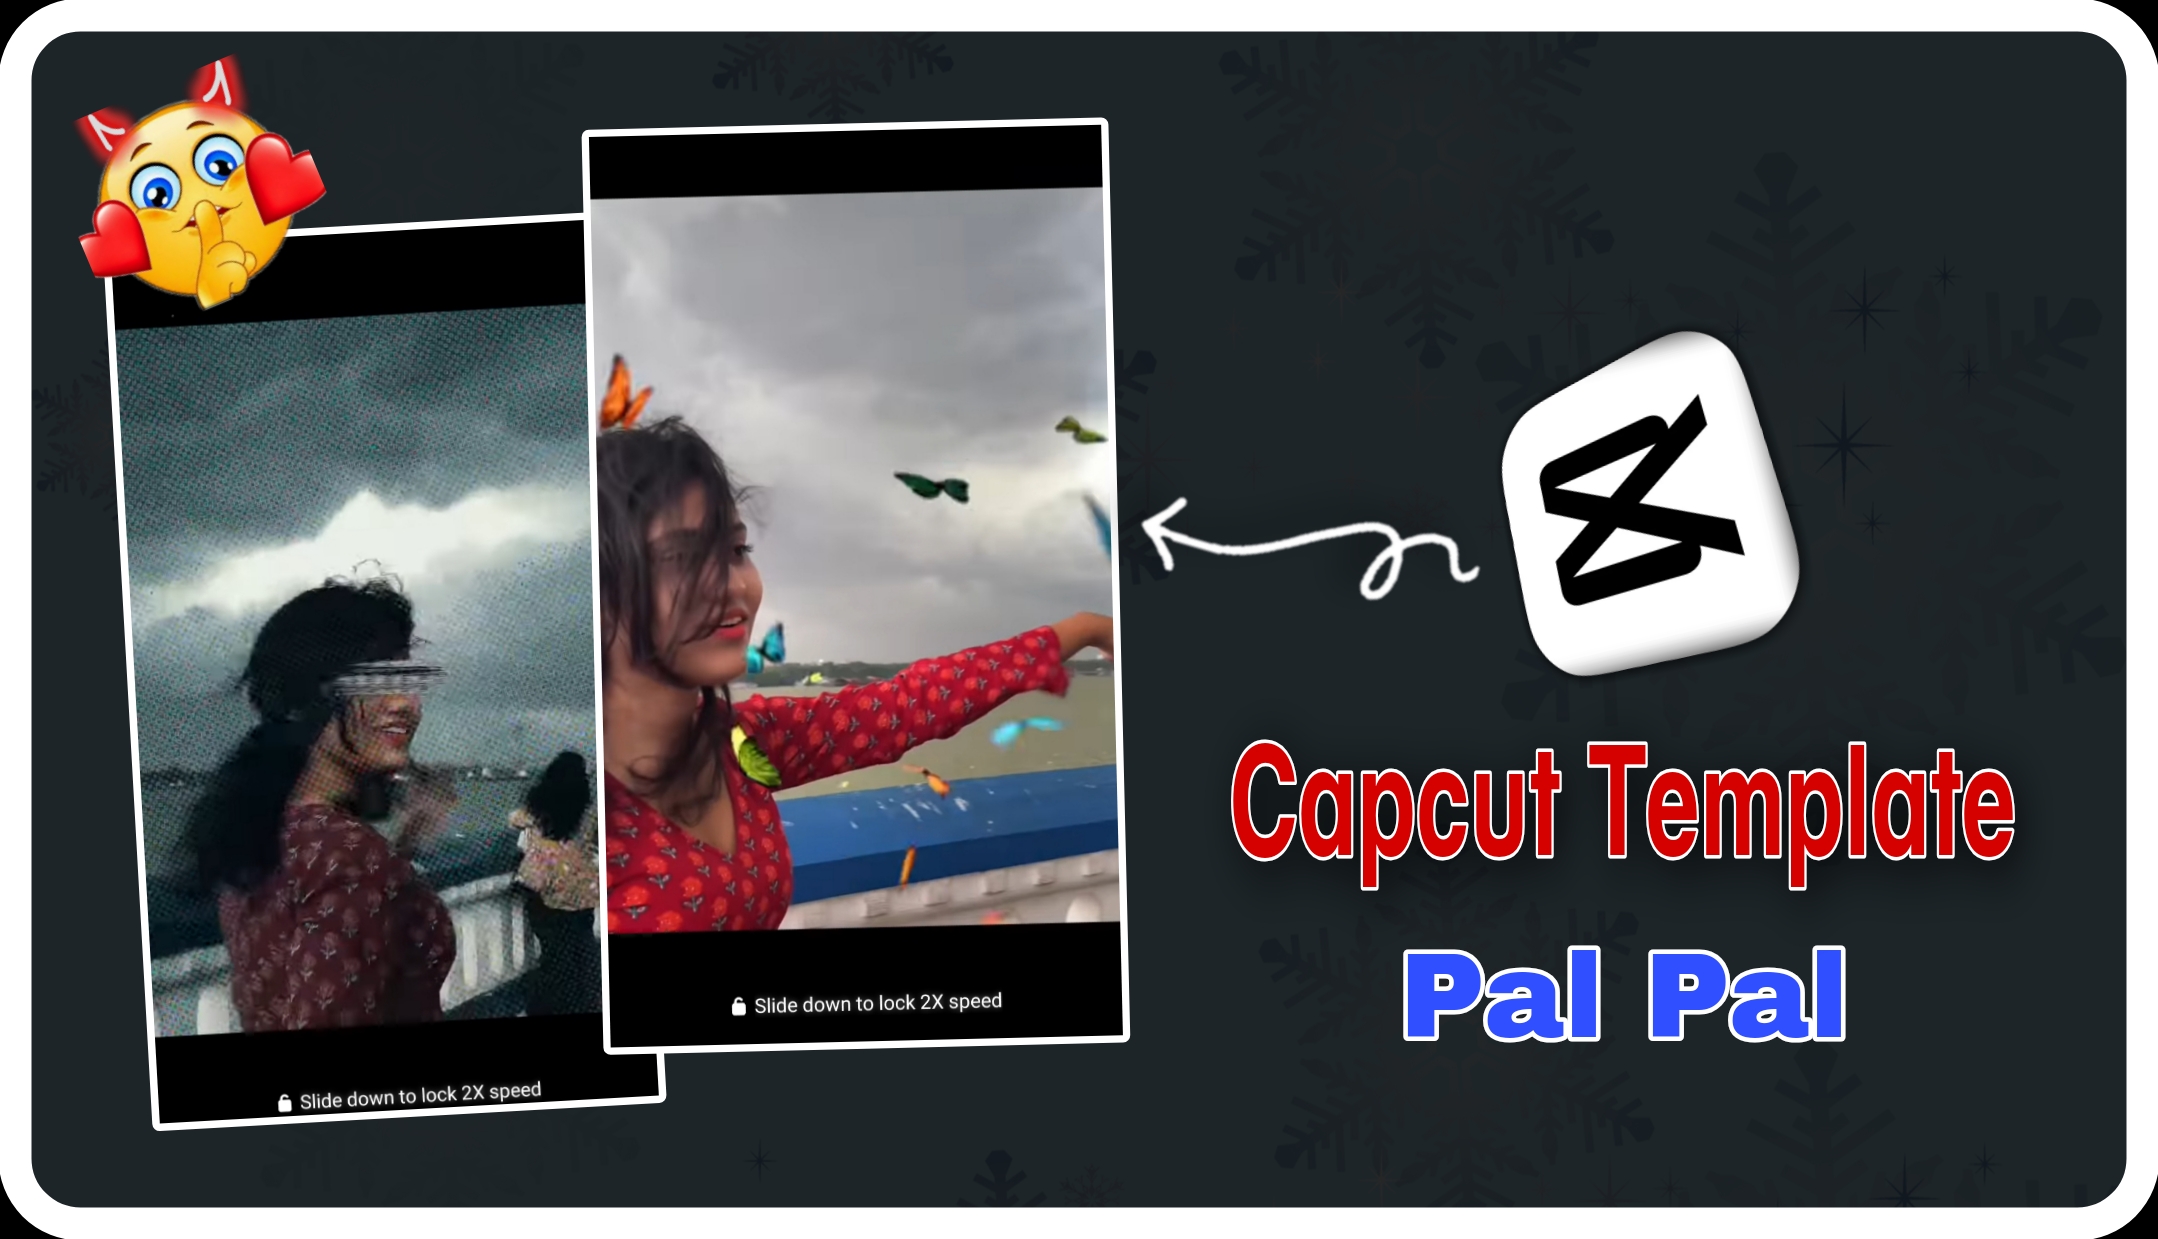
In the modern digital era, short-form video content has become the cornerstone of social media engagement. Platforms like TikTok, Instagram Reels, and YouTube Shorts are continuously flooded with creative trends that capture the imagination of millions. One such captivating visual style involves a sudden thematic shift within a single video—moving from a moody, dark, retro aesthetic to a vibrant, colorful, and magical environment. The video under discussion, bearing the watermark “ana_nineteen_”, perfectly exemplifies this modern visual storytelling technique.
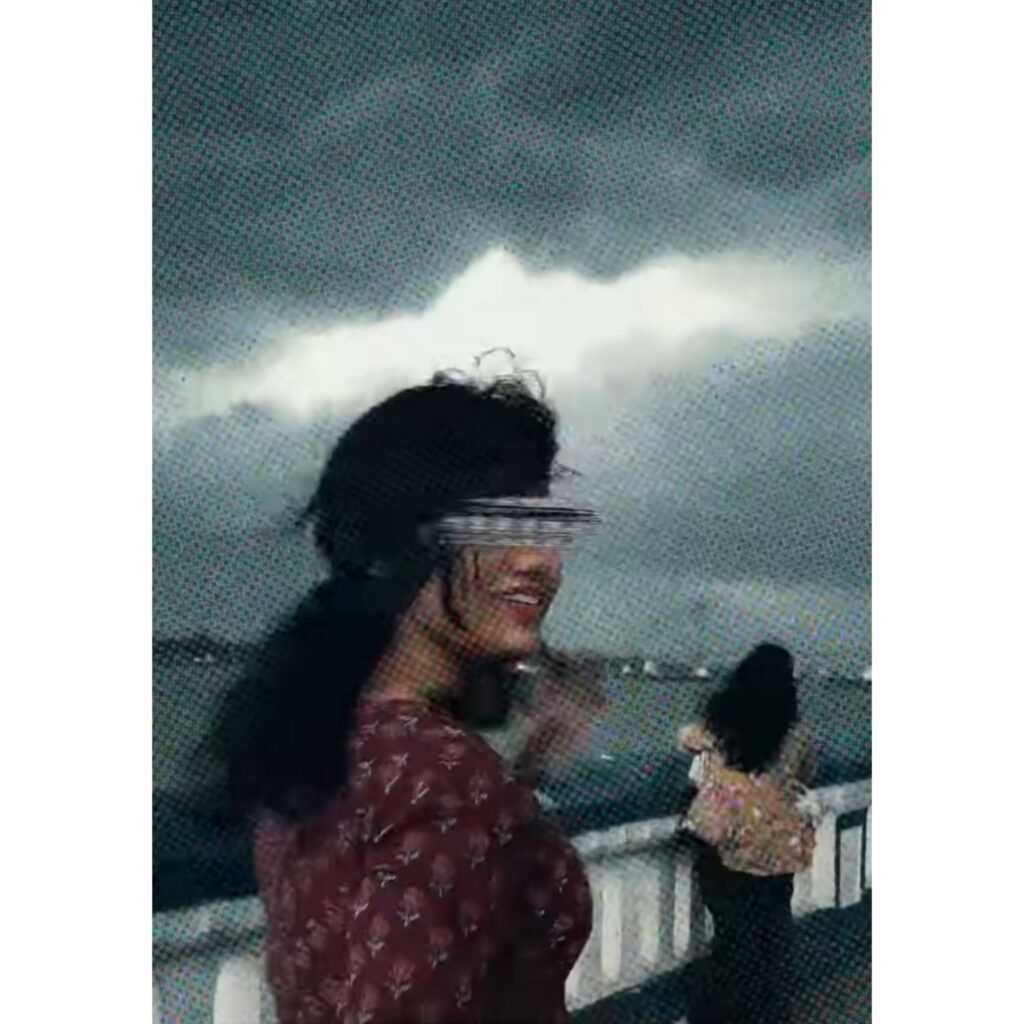
This video features a young woman against a dramatic, overcast sky next to a water body. It transitions seamlessly through multiple visual stages: starting with an old-school VHS glitch overlay, moving to a side-profile reflection, and culminating in an explosion of vivid colors where physical interactions spawn dynamic CGI elements like flying butterflies. For aspiring content creators, editors, and social media enthusiasts, replicating this high-quality look might seem daunting. However, thanks to CapCut—a highly versatile and user-friendly video editing application developed by ByteDance—anyone can recreate this stunning effect using pre-designed templates. This comprehensive article provides an in-depth breakdown of the video’s elements and a step-by-step guide on how to build it using CapCut.
Comprehensive Video Breakdown & Visual Aesthetics
Before diving into the technical execution, it is vital to analyze the creative elements that make this video visually appealing. The 5-second clip relies heavily on emotional contrast, pacing, and visual effects (VFX) to keep the viewer hooked.
A. The Moody Retro Phase (0:00 – 0:02)
The video opens with a distinct lo-fi, retro atmosphere. The subject is seen adjusting her hair against a background of dark, storm-heavy clouds over a lake or river. The key aesthetic choices here include:
Glitch Overlay: A digital distortion effect (glitch line) covers the subject’s eyes, adding an element of mystery and cyber-punk or grunge identity.
Halftone / Grain Filter: The video texture is grainy, mimicking old television screens or printed comic book dots (halftone pattern). This lowers the digital crispness and replaces it with nostalgic warmth.
Desaturated Palette: The colors are muted, focusing on deep reds, slate greys, and dark blues, establishing a somber or introspective mood.
The Role of CapCut Templates in Modern Content Creation
Manually editing keyframes, applying masking layers, generating 3D particle assets (like butterflies), and precisely synchronizing audio beats requires professional desktop software like Adobe After Effects or Premiere Pro, along with hours of meticulous work. This is where CapCut Templates revolutionize the pipeline.
CapCut templates allow creators to import their raw footage into a pre-configured timeline where all professional transitions, specific color grading, sound design, and complex VFX are already programmed. By finding the right template—such as the “Glitch Butterfly Trend” or searching for templates used by creators like “ana_nineteen_”—the entire editing process is shortened to just a few clicks.
Step-by-Step Guide to Recreating the Video Using CapCut
Step 1: Gather and Prepare Your Raw Footage
To achieve the best results, you need raw clips that match the geometry and emotion of the template. Shoot two or three short video clips using your smartphone:
Clip 1 (Front/Moody): Stand in front of an interesting backdrop (an open sky, an urban street, or a natural landscape). Look toward the camera and make a subtle movement, like running your hands through your hair.
Clip 2 (Side Profile): Turn sideways and look into the distance. Ensure the background remains consistent to preserve the sense of place.
Clip 3 (Action/Climax): Face the side or front, smile, and dynamically throw your hand forward as if releasing something into the air. This action must match the timing of the butterfly burst.
Step 2: Discover and Locate the Correct CapCut Template
Open your CapCut application and navigate to the “Templates” tab at the bottom navigation bar. Use the search bar at the top to locate the exact style. Effective search phrases include:
“Ana_nineteen glitch”
“Butterfly transition aesthetic”
“Retro glitch butterfly shift”
“VCR eye glitch trend”
Tip: If you cannot find it directly inside CapCut due to regional availability, browse through Instagram Reels or TikTok trends. When you encounter a video utilizing this style, look for the small icon directly above the creator’s username that reads “Use template in CapCut”. Tapping this link will automatically redirect you and launch the template inside your CapCut application.
Step 3: Import and Arrange Your Media
Once the template screen opens, click on the bright “Use Template” button at the bottom right corner. CapCut will open your smartphone’s media gallery. Select your pre-recorded clips in the correct chronological sequence:
Select the moody introductory clip first.
Select the side-profile clip second.
Select the final expressive action clip third.
Click “Preview”. CapCut will automatically slice your clips, apply the retro halftone textures, insert the eye-glitch bar, and map the butterfly particle emitter onto your final clip.
Step 4: Refine Visual Timing and Positioning
Sometimes, the automatic cropping cuts off vital parts of your appearance. Inside the preview window, tap on individual video segments in the timeline layer and select “Edit” or “Crop”. Adjust the framing box so your eyes align correctly with where the template generates the digital glitch overlay, and make sure your hand movement synchronizes perfectly with the butterfly release.
Step 5: Audio Integration and Final Exporting
Most templates come with the trending audio pre-mapped. Ensure the audio volume balance is correct. Once satisfied with the preview, click on the “Export” button in the upper right corner. To maintain professional presentation, choose “Export without watermark”. This will automatically process the video at high resolution (preferably 1080p or 4K at 60fps) and save it directly to your camera roll, ready for publishing across social networks.
Advanced Customization Tips for Standout Quality
If you wish to elevate your video beyond the standard template constraints, you can select the “Edit Project” option after importing to modify specific layers manually:
Color Grading Adjustments: Manually boost the saturation, contrast, and brightness of the final clip. Increasing the vibrance of the last scene makes the transition feel far more dramatic and rewarding.
Customizing Sound FX: Add a low, muffled filter to the audio during the first 3 seconds, and remove the filter precisely when the butterflies appear to give the audio a satisfying “open-air” punch.
Perfecting Lighting: Try shooting your raw videos during the “Golden Hour” (just before sunset) or under heavily overcast skies to naturally capture the cinematic atmosphere without relying entirely on digital filters
Conclusion
The butterfly glitch video trend perfectly demonstrates how creative editing can turn simple everyday moments into highly engaging, cinematic art. By breaking down the barriers of complex post-production editing, CapCut templates allow digital creators to achieve high-production-value visuals in a matter of minutes. By gathering the right raw footage, matching the atmospheric tones, and following the structured template workflow detailed above, you can effortlessly master this trend and captivate your digital audience.