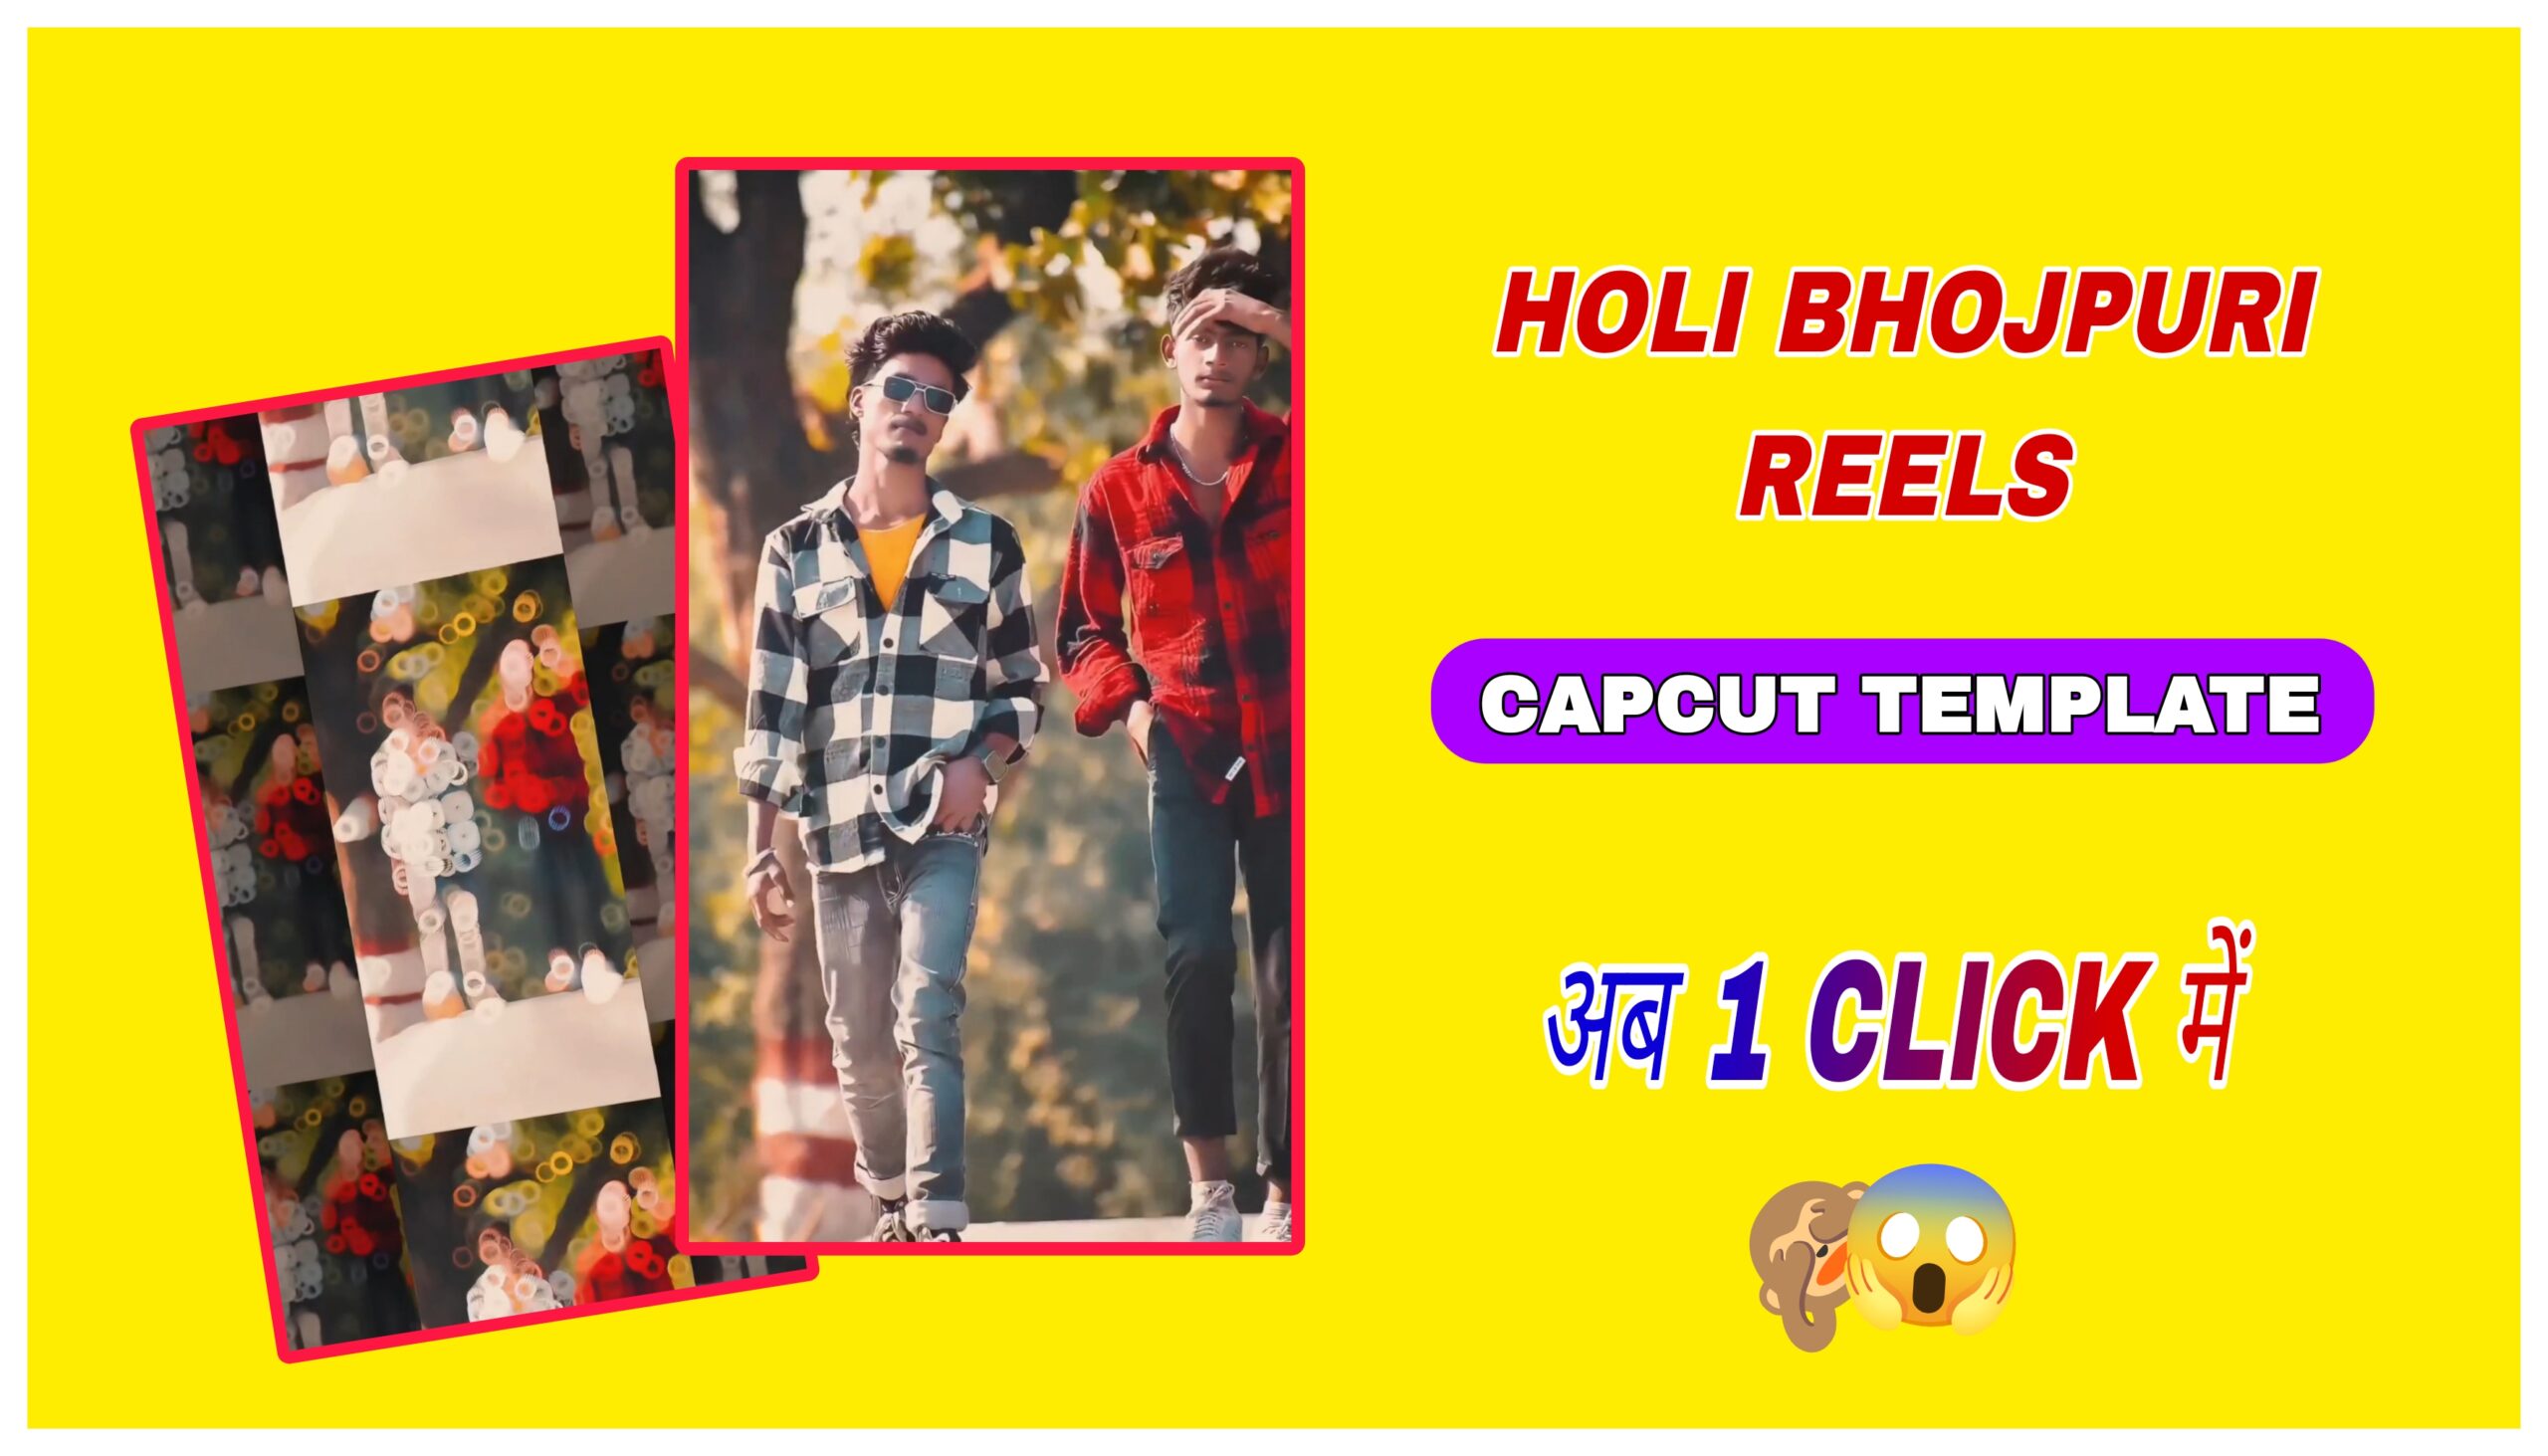
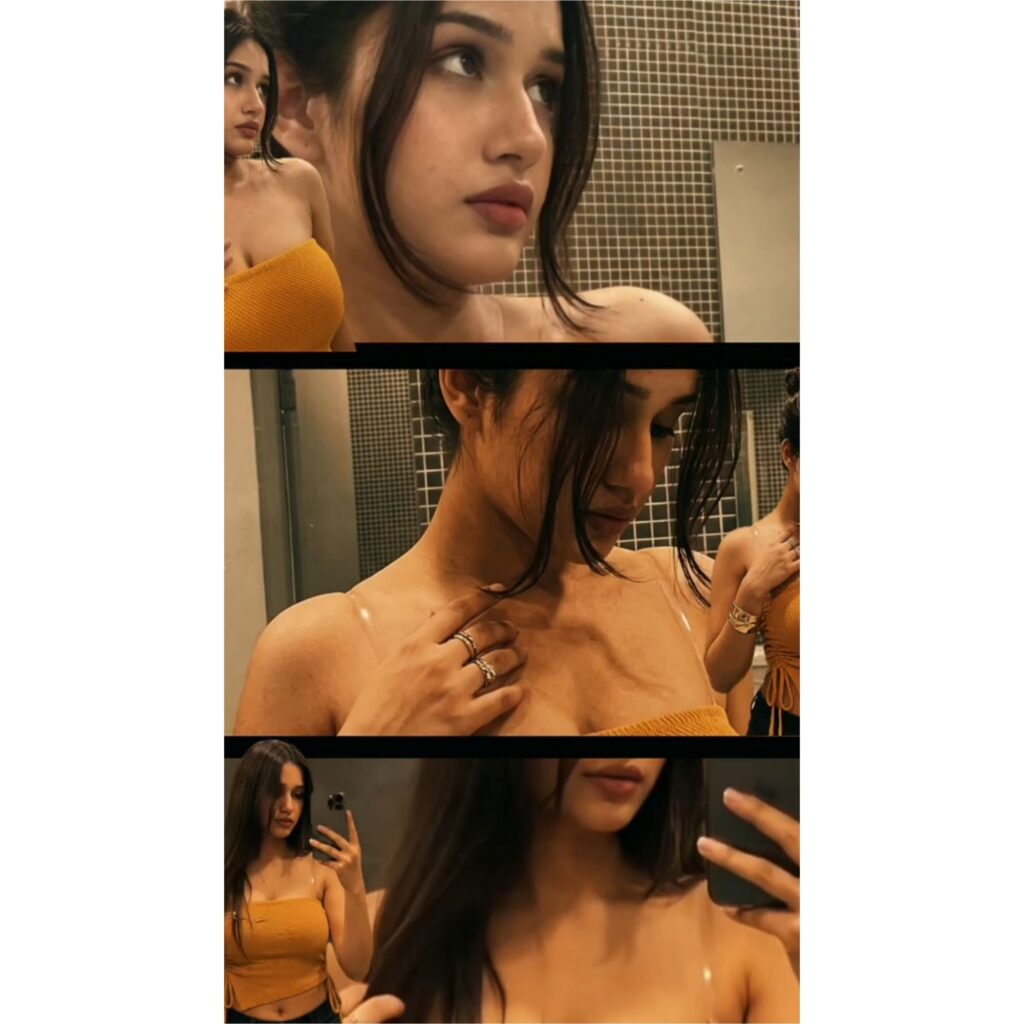
The multi-split screen effect relies on a structured, layered visual layout. Instead of displaying a single video frame, the screen is segmented into dynamic sections—often featuring a combination of a full-body portrait, close-up details, and real-time mirror reflections. By combining these layers with strategic masking and framing, you can produce a high-end, studio-quality edit directly from your smartphone.
Details of Ultimate Guide to Creating a Multi-Split Screen Transition Reel in CapCut
Before opening the editing app, ensure your raw assets are optimized for a multi-layered template.Creating trend-setting, multi-split screen reel videos like this has never been easier, thanks to CapCut’s powerful mobile editing suite. This specific editing style—characterized by stacked video panels, clean layout grids, and seamless background music synchronization—is incredibly popular for showcasing outfit transitions, aesthetic montages, or modeling portfolios.
Here is a comprehensive, step-by-step guide to recreating this viral reel effect using CapCut.
How to make trending capcut Template
Step 1: Planning and Capturing Your Footage
Before opening the editing app, ensure your raw assets are optimized for a multi-layered template.
Aspect Ratio: Record all footage vertically in 9:16 mode to match the standard format for Instagram Reels, YouTube Shorts, and TikTok.
Varied Angles: Capture at least 3 to 4 distinct angles of the same subject or outfit. This should include:
A medium shot focusing on the garment texture.
A wider shot showing the complete outfit or pose.
A close-up focusing on expressions, jewelry, or accessories.
Consistent Lighting: Ensure the lighting remains uniform across all clips so the final split screens blend together seamlessly.
Step 2: Setting Up the Base Project
Open the CapCut mobile application and select New Project.
Import your primary, highest-quality clip to act as the foundational layer (Main Track).
Tap on the Ratio tool at the bottom toolbar and select 9:16 to lock in the proper vertical frame.
Step 3: Layering Clips Using the Overlay Tool
To achieve the stacked, multi-frame look, you will utilize CapCut’s robust overlay system to place videos on top of one another.
Navigate to the main menu and select Overlay, then tap Add Overlay.
Select your second and third video clips and import them onto the timeline.
These clips will appear on separate tracks below your main video timeline.
Select each overlay track individually and use a two-finger pinch gesture on the preview screen to resize and position them. You can stack them vertically (top, middle, and bottom) or arrange them side-by-side to form a grid.
Step 4: Applying Masks for Clean Separations
To ensure the different video layers do not awkwardly overlap, use the Mask tool to create sharp, defined borders.
Tap on an overlay clip from your timeline.
Scroll through the bottom editing options and select Mask.
Choose the Rectangle or Split mask layout depending on your desired arrangement.
Adjust the yellow bounding lines on the preview screen to crop the clip precisely into its designated section of the screen.
Repeat this process for each layer until you have a clean, segmented grid where each panel plays a different clip simultaneously
Step 5: Synchronizing with Background Music
Audio timing is crucial for maintaining viewer engagement. The transition and movement within the panels should flow naturally with the beat.
Tap Add Audio beneath the main video track, or choose Audio from the bottom toolbar.
Import your chosen trending audio track.
Use the Beats tool (often represented by a flag icon) to automatically or manually mark the heavy bass drops or rhythmic transitions in the music.
Align the cuts, changes in facial expression, or shifts in camera angles exactly with these highlighted beat markers.
Step 6: Adding Transitions, Color Grading, and Polish
To elevate the edit from a basic collage to a professional-grade video, focus on the details.
Animations: Select individual clips and apply subtle entry animations, such as a gentle “Fade In” or “Slide,” to introduce new panels smoothly.
Color Consistency (Filters): To unify different clips, apply a universal filter across the entire project. Tap Filters, choose an aesthetic profile (such as Vivid, Cold, or Retro), and drag the adjustment slider across the entire length of your timeline.
Adjustments: Fine-tune the brightness, contrast, and saturation manually under the Adjust menu to make the colors pop against the dark background frames.
Step 7: Exporting Your Final Masterpiece
Once your playback looks smooth and perfectly synchronized, it is time to render the video.
Tap the resolution drop-down menu in the top right corner (usually set to 1080P by default).
For optimal clarity on social media platforms, select 1080P resolution and set the frame rate to 30 FPS or 60 FPS.
Ensure the Smart HDR option is turned off if you want to avoid erratic exposure changes during upload.
Click the Export (arrow) icon and wait for the rendering process to complete.
Your custom-edited multi-split screen reel is now ready to be uploaded directly to your favorite social media platforms!
Conclusion
Mastering the multi-split screen effect in CapCut allows you to transform standard, single-frame footage into a highly engaging, visually dynamic piece of content. By carefully layering your clips, using precise masking tools, and synchronizing your transitions to the rhythm of your audio, you create a professional aesthetic that stands out on any social media feed.
Before uploading your finished video to platforms like Instagram Reels, TikTok, or YouTube Shorts, consider the following final tips to maximize your reach:
Write a Compelling Caption: Keep your caption concise but engaging. Use a mix of broad and niche hashtags relevant to your video’s theme (e.g., #VideoEditing, #CapCutTutorial, #AestheticEdits) to help the algorithm categorize your content.
Select an Eye-Catching Cover Frame: Choose a clear, well-composed frame from your video to serve as the thumbnail, or upload a dedicated cover image to keep your profile grid looking organized and polished.
Utilize Platform Features: When publishing, consider using the native text or engagement features (like polls or questions) offered by the platform to encourage viewers to comment and interact with your post.